Capturing the Northern Lights in the Netherlands: A Photographic Journey
- Focus and Framed auther
- May 14, 2024
- 2 min read
Updated: Dec 4, 2024
For two years, I roamed the Dutch countryside, hopeful and prepared, to capture the elusive Northern Lights—known in Dutch as the 'noorderlicht'.
My car was always packed with cameras and tripods, yet each venture seemed to end without a glimpse of this natural spectacle. It was a game of patience and persistence. Last Friday was no different at first; another night under the stars, another night of disappointment. But as I drove home, resigned, something extraordinary happened.


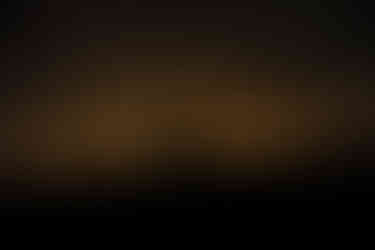
From my attic window, the sky turned an unusual shade of pink. The Northern Lights were here, subtly painting the night in hues invisible to the naked eye but vivid through the lens. Excited, I set up my equipment outside and started shooting. The results were mesmerizing images of one of nature's most wondrous phenomena.
Understanding the Northern Lights
The Northern Lights, or Aurora Borealis, occur when electrically charged particles from the sun collide with gases in Earth's atmosphere, creating a dazzling display of light in the sky. While the best sightings are typically near the polar regions, solar storms can push the auroras further south, making them visible in the Netherlands under the right conditions.
Best Time to Photograph the Northern Lights in the Netherlands
The auroras are most visible during the equinox months of March and September when geomagnetic activities are heightened. However, solar flares can lead to sightings at any time of the year. Checking geomagnetic forecasts can increase your chances of catching the Northern Lights on camera.

Photography Tips for Capturing the Noorderlicht
Use the Right Equipment: A DSLR or full frame camera with manual mode is essential. Use a wide-angle lens for expansive sky shots, and a tripod to keep your camera stable for long exposures.
Settings Are Key: Set your ISO between 800 and 1600, aperture to the smallest that your lens is capable of (f/2.8 or wider), and shutter speed from 5 to 15 seconds. Adjust based on the intensity of the lights.
Scout for Locations: Find a spot with minimal light pollution and a clear view of the northern horizon. The darker the environment, the better the visibility of the auroras.
Patience Pays Off: The auroras can be unpredictable. Spend several hours outside to increase your chances of a successful shoot.


Comments